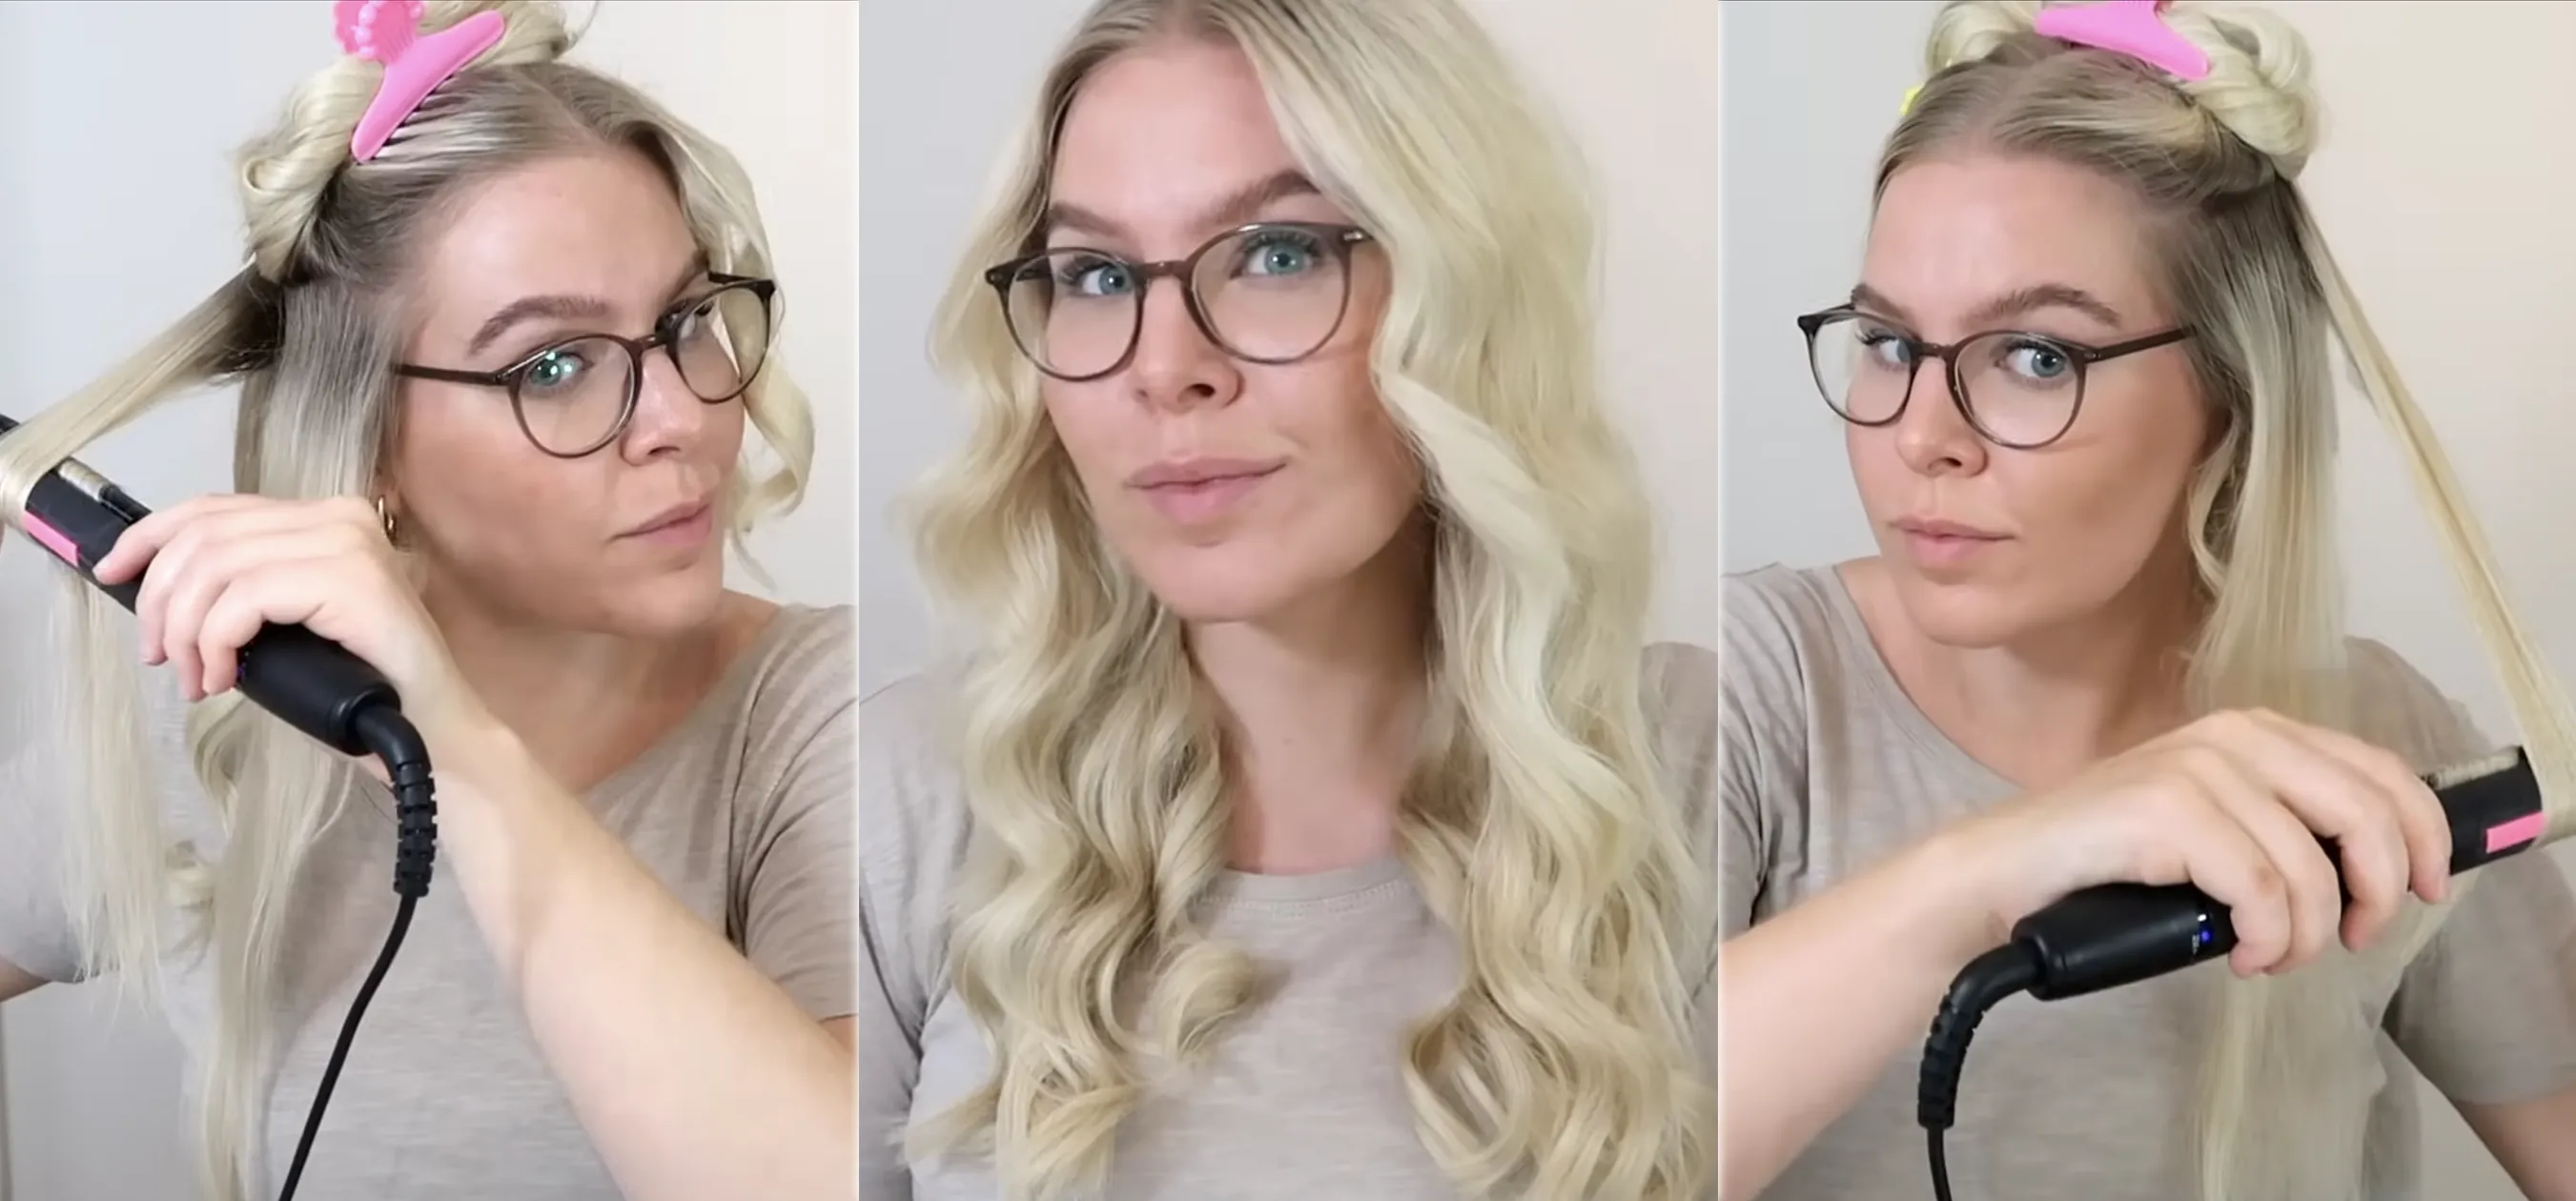
If you want to shake up your style or pay tribute to the 90s, then bust out that crimping iron. You will bring the party with this fun and funky style that can worn down, up or added to bring a little flare to more traditional styles.
This hairstyling technique adds texture and visual interest to your hair.
You Will Need
* A flat iron
* Heat protection spray
* A crimping iron
* Hair pins
* Hair elastics
* Hairspray
Step 1: Wash, condition, and dry hair
Wash and condition your hair and dry it thoroughly. If you have curly or wavy hair, straighten it with a flat iron before crimping.
Step 2: Protect hair
Spray your hair with a heat protection mist to protect your hair shafts from the heat of the crimping iron.
Crimping irons can be purchased at any major grocery or beauty supply store. They are typically available in 1- or 2-inch widths.
Step 3: Separate hair
Separate your hair into 2-inch sections. Crimp all of your hair for a dramatic look or select a few pieces just to highlight your face.
Step 4: Use crimping iron
Heat the crimping iron according to the manufacturer's specifications. Crimp your hair sections from the roots to the ends, holding the iron closed for about 4 seconds at a time.
For a more natural look, crimp only the upper layer of hair, leaving the hair underneath straight.
Step 5: Set hair
Pull your hair back with an elastic band or hair pins to show off the crimping. Don't forget to use hairspray to set your look.
The women of Ancient Rome used rudimentary curling irons to fashion their intricate hairstyles.


Comments
Be the first, drop a comment!