
Ready to try and sew-in your own weave? It's a big decision. As with everything that concerns our hair, we struggle with the pros and cons and often dwell on what could go wrong. Pixie cut. Perm or not? New shade (of pink, purple, or blue). These are all major decisions because ... well, it's our hair, and hair is such a big part of our style. To get a weave or not calls for careful consideration, and to sew one in yourself, that's an even bigger internal debate.
If you do decide to DIY a weave, then keep reading. Here we'll go over the steps needed to sew-in hair extensions and make the end result look natural and pretty. As Nicki Minaj once said, "I don't want a wig that looks like a wig; I want one that could pass for a weave." Exactly, Nicki!
Weaves & Things to Consider
The basic process of adding a weave, or hair extension, is to braid your own hair and then sew the weave into the braids. Weaves, of course, are used for styling purposes. In just a few hours, our hair can magically grow to the length we want it. It can also add fullness and volume. How cool is that? Weaves can also be used however to give our own hair time to heal and grow. (Similar to getting acrylic nails to help stop a nail-biting habit.)
Some hair can't take the cold winter air or the summer heat; and some are styled so often, with blow dryers, curlers, and flat irons, that they need a timeout. Hair that's been put through the ringer can easily break. A weave can help.
Now with this said, weaves can also lead to damage, as the process does put stress on our scalps. It's a delicate balance and as said, something to weigh carefully before following through. Research is always a good start. Arieta Mujay for Cosmopolitan explains:
For example, if the hair extensions are glued in or your braids have been created too tight, this will cause breakage. Hair underneath needs to be looked after with the same care you'd give it without your weave on top.
Weaves can either be made from human hair or be synthetic. Ethically sourced human hair extensions are expensive, but the quality is reflective as well. Human-hair weaves can be styled just like our own hair: wash it, blow dry it, curl it, etc. Synthetic weaves, while more affordable, can't quite capture the look of real hair, can't be styled and can damage your hair underneath. More to consider.
Sewing in Your Own Weave
Vast Majority from Bellatory explains there are four main methods of hair weaving: sew-in, net weave sew-in, hair bonding (also known as glue-in, which Cosmopolitan advises against), and fusion. We're concerned with the first two:
- Sew-in: Where hair is braided and then the weave is sewn into the braids.
- Net weave sew-in: The same process as the first, but a net or mesh cap is placed over the braids and the weave is sewn through the net and braids. As Bellatory notes, this method relieves some of the stress the braids will place on the scalp.
For this tutorial, courtesy of YouTuber Jodian, aka TheBrilliantBeauty, we'll be using the net-weave method. Jodian says this had been her most requested tutorial for a while now, and she also had two other reasons to do a sew-in: she wanted a simple get-up-and-go style and she also wanted to give her natural hair time to get healthier and thicker.
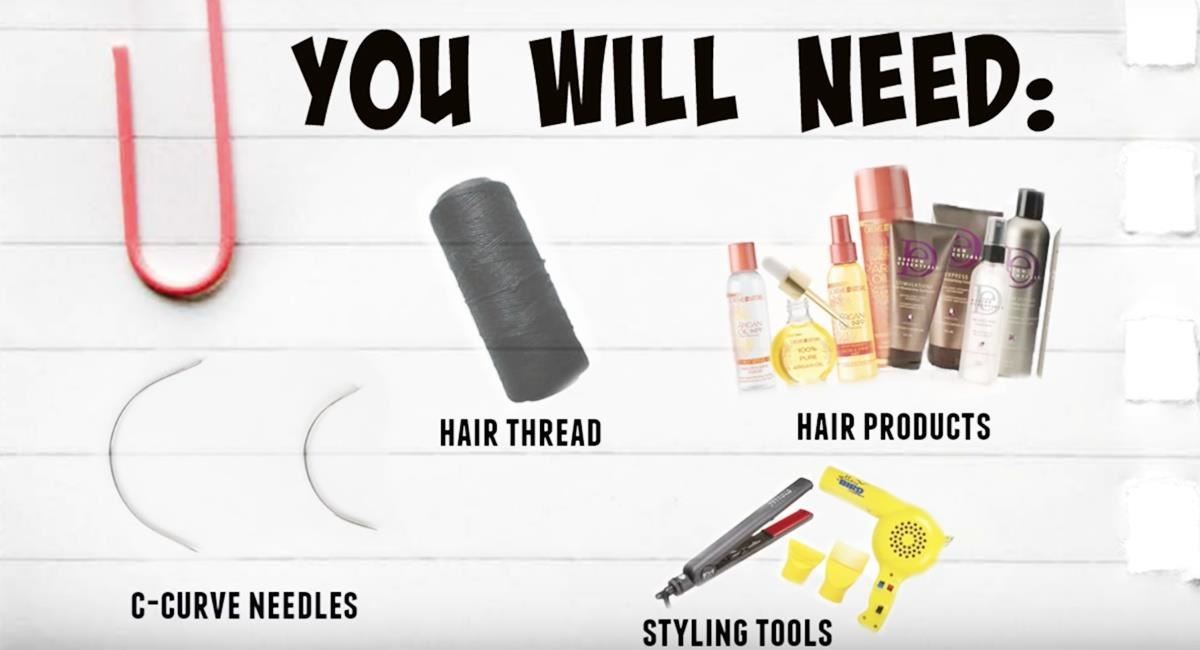
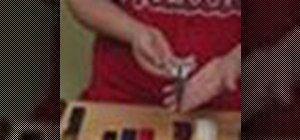
Tools to Sew-in Your Weave
To get started, you will need a comb, some scissors, and clips. Plus c-curve needles, hair weaving thread, styling products (including heat protectant), and styling tools (like a blow dryer and flat iron).
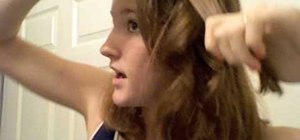
Step 1: Prepare Hair for Braiding
Before you put your scalp and hair through the process of a weave, make sure they're as strong as possible. Deep condition your hair. Make sure your hair is detangled to cut down on pulling once the braiding begins. Blow dry your hair, but be careful here, too. Don't overdo it as it can weaken your hair and leave it vulnerable to breakage.
The final step before the real braiding begins is to section off and braid down all the parts of your hair you will be leaving out (to blend in with the weave once it's sewn in).
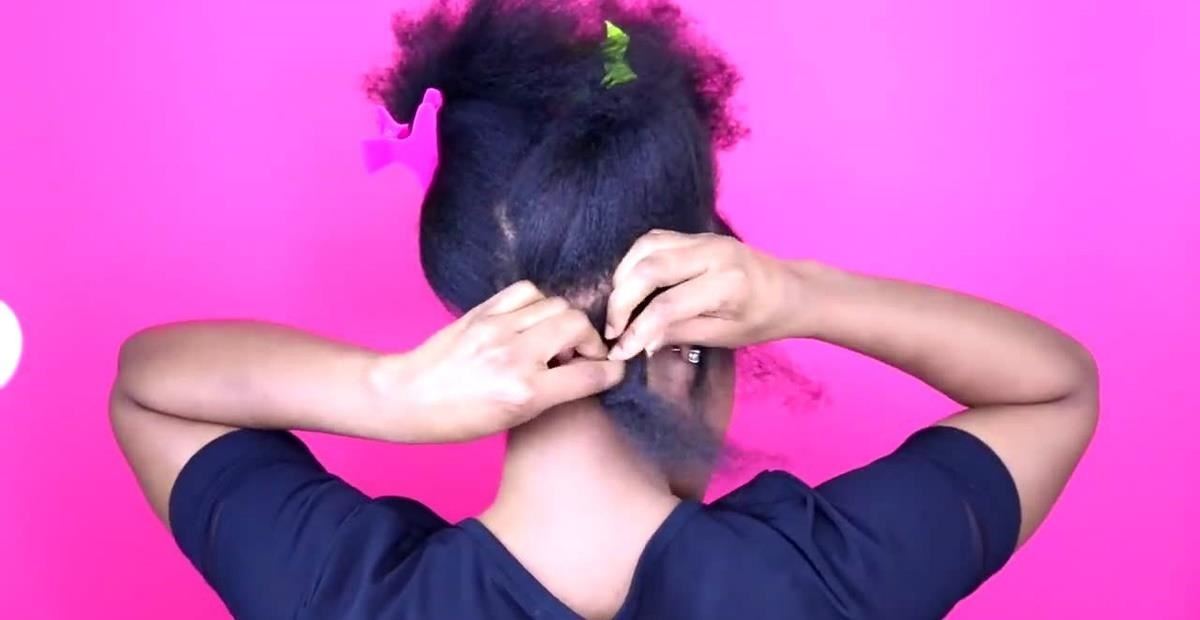
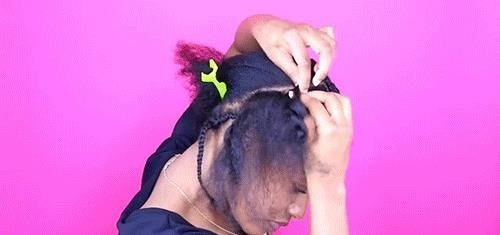
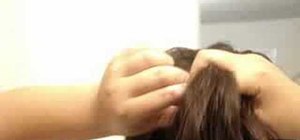
Step 2: Create the Anchor Braids
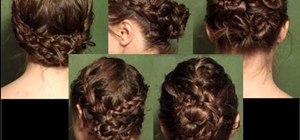
Next, you'll create two anchor braids at the front of your hair. This is where you part your hair, and so while you want the sections to be small, you also want them to be sturdy. You can see in the GIF below that the anchor braids are right next to the braided hair you will be leaving out. The anchors are where you will stop your weave.

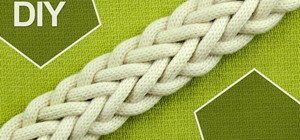
Step 3: Braid the Rest of Your Hair
Next, you'll simply braid the rest of your hair, creating tracks. Jodian prefers to braid downward as she finds it easier and keeps the braids flat. Note that the process takes time, so don't get discouraged if you feel it's going slowly. It takes time to braid hair! Tip: Once you've finished braiding, secure ends by sewing them down.

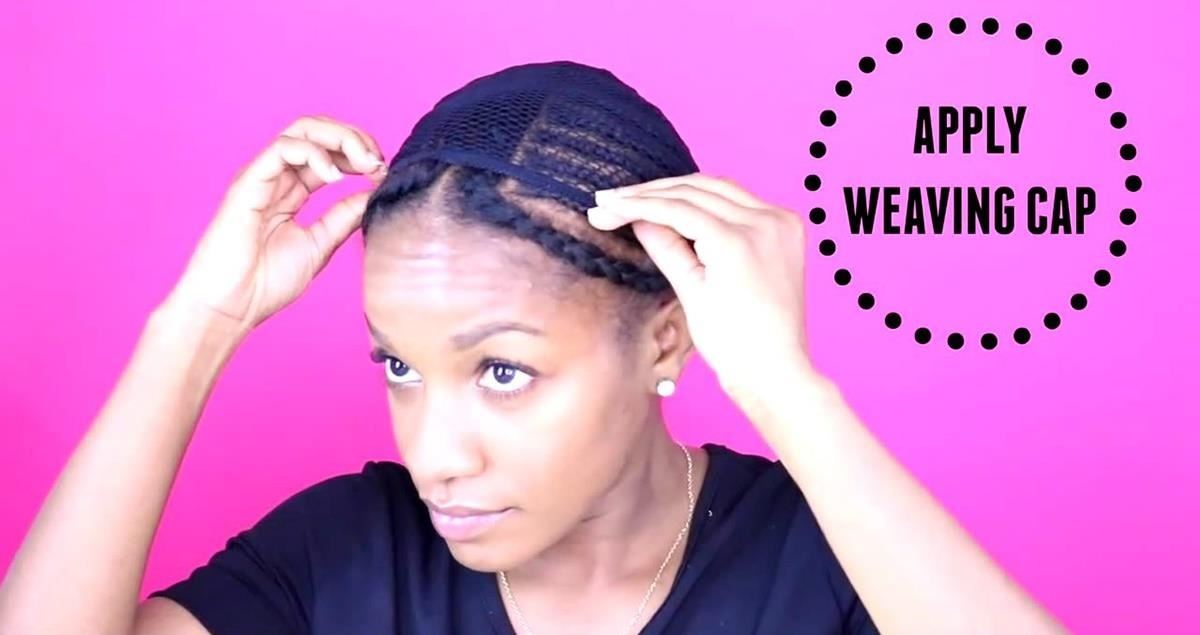
Step 4: Apply Mesh Weaving Cap
Adding the weave-in cap will make the sewing process easier and will also relieve tension on your hair and scalp. You can pick one up at your local beauty supply store or online.
Step 5: Sew in Your Extensions
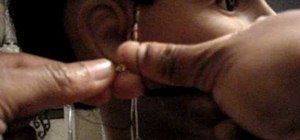
Now it's time to start sewing in your weave. Take your c-curve needle and begin by going through the weft (where the strands are bundled) of the weave, then the cap, then the first braid/track in the back. This will create a seamless connection/look between your scalp and the extension, and will especially pay off when you pull your hair + weave up in a high ponytail. Note that you only have to put the needle through the wefts on the ends of the extension; between the ends, you can simply loop your thread around the wefting. Tip: Thread your needles to about an arm's length to start each time.

Step 6: Keep Going, Sewing from the Back to the Front
This tutorial uses four bundles of hair, so in the back, the weft is folded over at the edges, doubling it, as the weave is sewn in the opposite direction. This will help minimize shedding. At the front of your head, you'll keep it as single wefting though, to ensure it lays nice and flat. And just keep going. When you reach the end, at the front, you can secure it at that point and cut the extension off to begin a new row where you like.
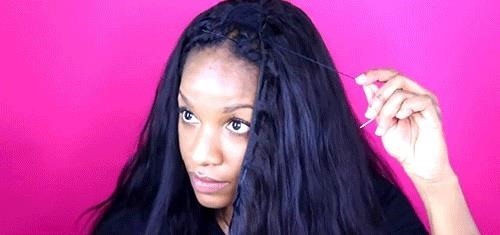
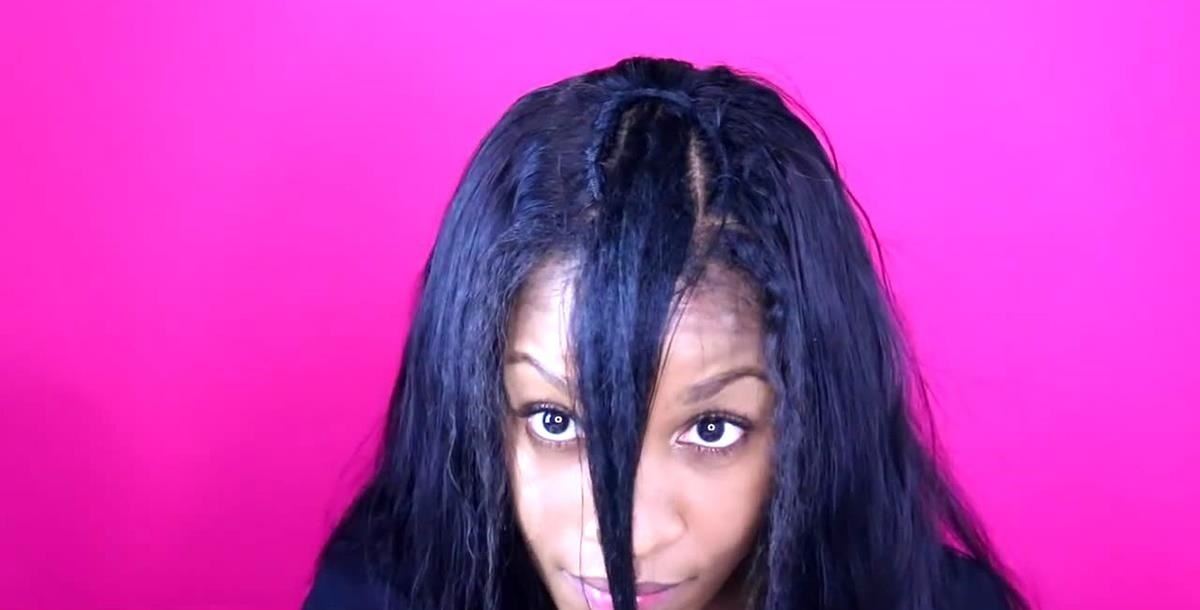
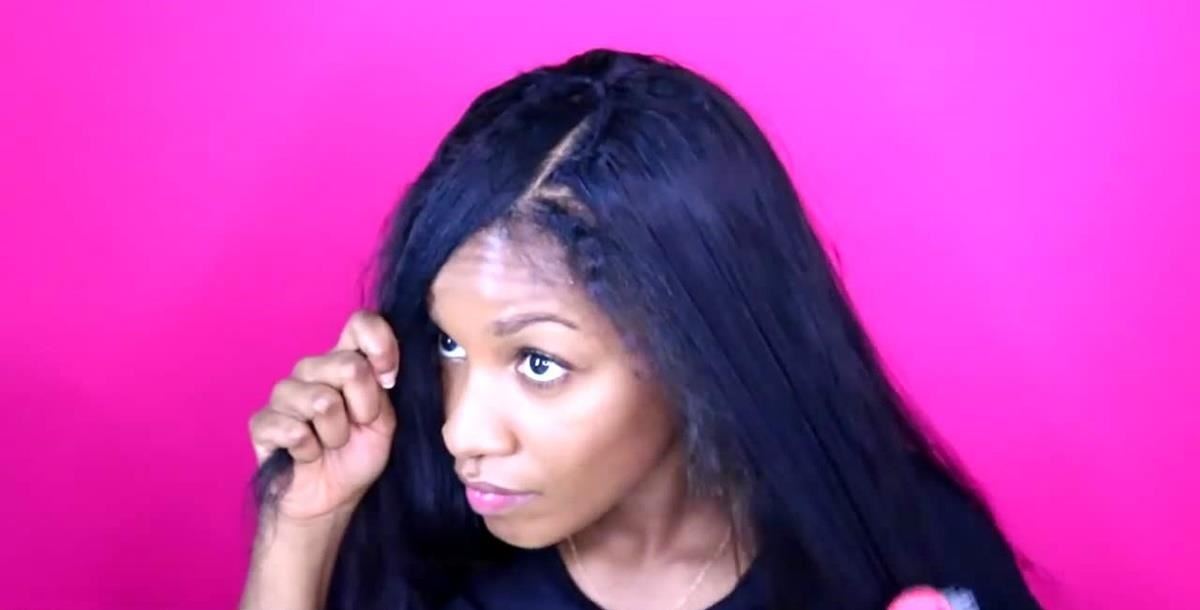
Step 7: Blend the Hair You Left Out with Your New Weave
After you've sewn-in your extensions up to the anchor braids at the top of your head, you're done. Cut the excess net around your hair part (from Step 2) and let your leave-out hair (from Step 1) out of their braids. Then style as desired to blend your own hair with your newly sewn-in weave. You did it!
As for care, make sure you use heat protectant before you apply heat to your weave, like with a flat iron. For your hair underneath, make sure you still care for it during this time. As Cosmopolitan recommends, wrap up your hair/weave up in a scarf before bed and try and keep your extensions in for only a month or so; at the most six weeks.
We noted that weaves are often used to help protect hair and/or get natural hair back on the track to healthy. Remember, though, that you can damage your hair if you leave extensions in for too long and don't let your scalp breathe. Again, it's a balance. Good luck!
Just updated your iPhone? You'll find new emoji, enhanced security, podcast transcripts, Apple Cash virtual numbers, and other useful features. There are even new additions hidden within Safari. Find out what's new and changed on your iPhone with the iOS 17.4 update.


12 Comments
ur hair is cute...i do my own sew in's but i have the biggest problem cuttin it or puttin it in a stlye
I love your hair and I am so tired of paying someone $250 just to get my hair sewed in but you just showed me that I can do it myself. I completed hair scholl so I already had an idea of how to do it, but thanks to you showing me a much simplier way to do my own sew in.
You did a very good job! I'm a hairstylist, but I'm just looking up different people's techniques of weaves. The lighting at the end for the closure wasn't great, but overall, you were very entertaining. Your personality shined, the pups were cute, and you made me laugh messing with them also. Thanks!
The hair net is a great idea...have you ever thought about using a weave cap? It's netted, cut, and ready to be put in. Just sew it onto your braids and cut the excess off. It could save alot of time.
This was am excellent video the best I have seen. I like the fact that you did not act professional but just be yourself. I still do not have the closing part down pack but you said not to ask how. I will review those parts again. Good Job.
best video!! thank you for showing me thiiiiis because lord knows i hate other people i my hair!!! i never thought of using the net before!
oh and you have a great personality!!! :-)
I really appreciate you putting this out here. Next time can you maybe use a lamp for extra lighting. I had a hard time seeing the closing. A lamp with an adjustable neck could be focused on that spot and we could see it better. Great job, & thanks again.
who can do weaves for free
All I can say is after watching your tutorial I am a weaving fool. People can't believe I have done it myself and it looks good, especially on the first try and the second weave looks even better and took me less time. Hey, anybody need a weave I can hook you up....Lol!!! Only thing I can say negative is you talk a lot, but it's cool you do have a great personality. Thank you again. I will never have a bad hair day again...
I'm in west london. can you do my weave?
Amazing! I love how you took your time to show step by step EXACTLY what youre doing! I am currently finishing my FIRST sew in thru instructions from your tutorial! Thankkkks sooo much for making the series!
Share Your Thoughts